I finally took the time to finish up some bases for my Japanese Sectorial Army in Infinity. I did have a couple of models already based, including some Keisotsu and even Kitsune on some nifty rocks. The latter was supposed to turn out differently but I decided at the time to go for a half-assed job, instead of putting more work into the base to achieve what I really wanted to accomplish. So I sat down and based the figures I would need to play with as well as redo the Kitsune base for a better version of what I first imagined for her.

Basically I started out with a base for my Kempeitai. I wanted him to stand near a pond in my park themed bases. So I removed half of the base, only leaving the outer trim to later contain the water I will be adding. What I basically did was use a sculpting tool, stab in some holes and in a way drilled them out. I do not have one of those fancy drills that can eat away at stuff, so I had to improvise.
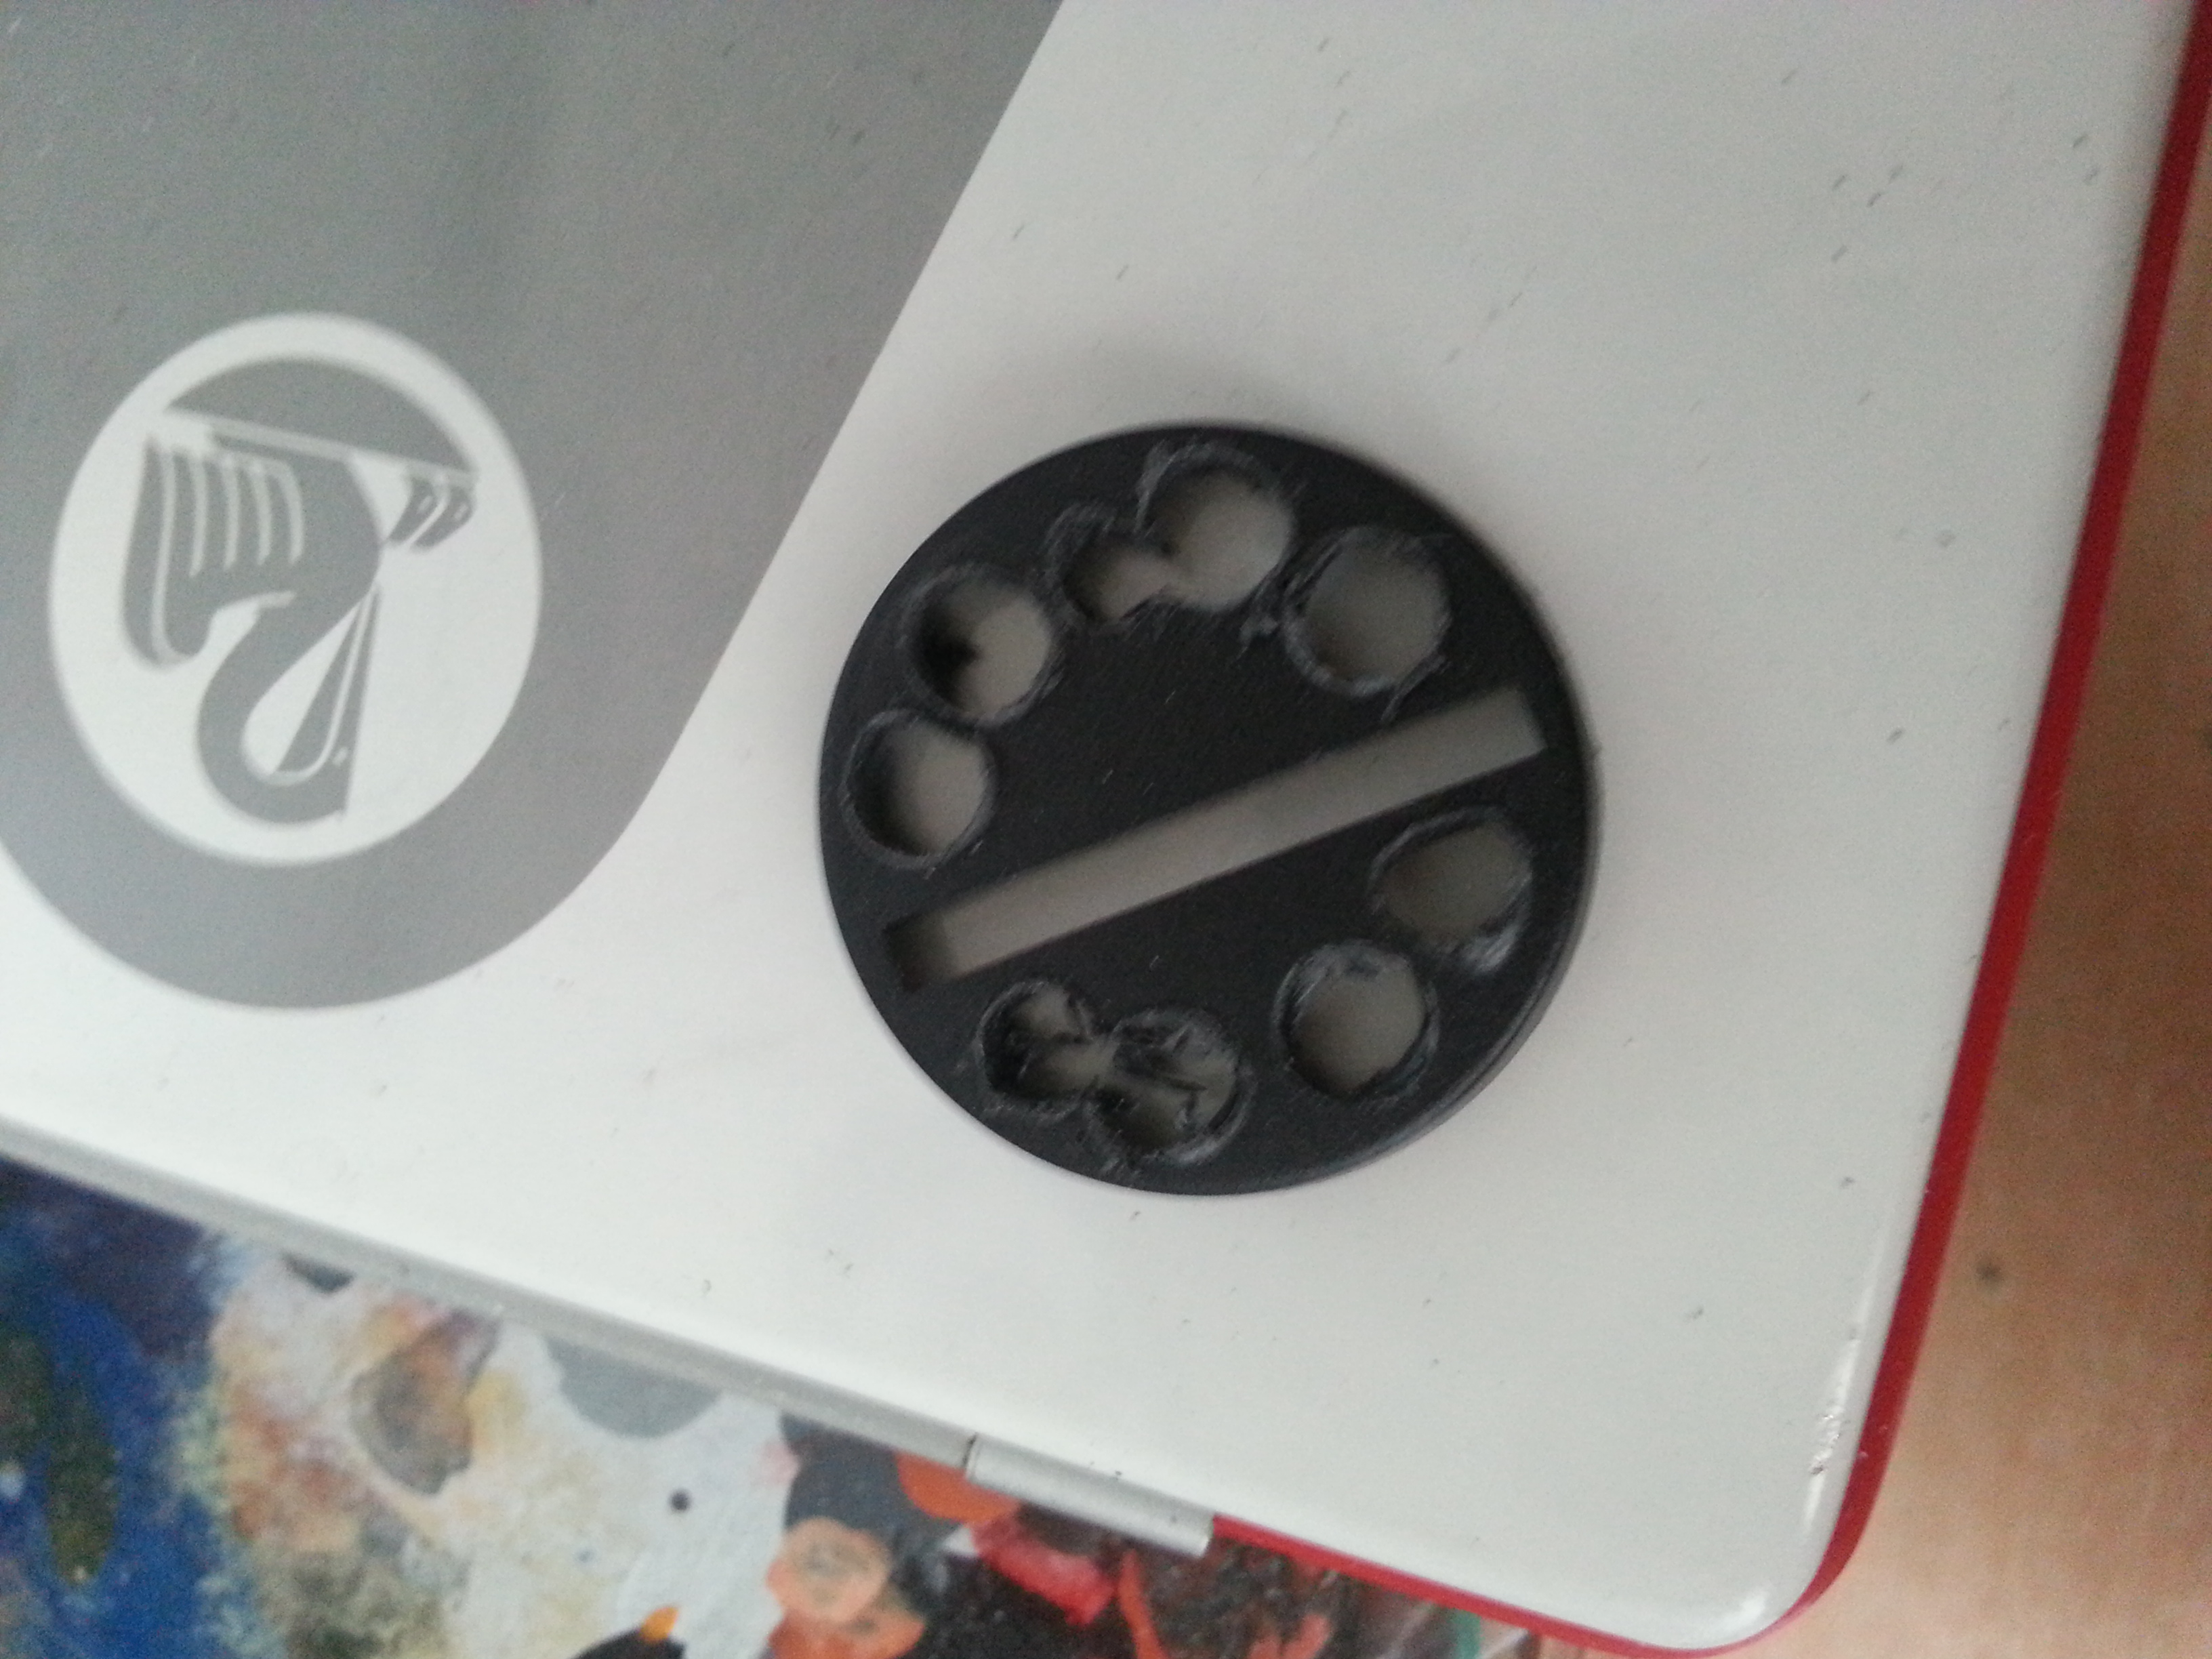
After that I used a triangle-shaped file and removed the biggest pieces by disconnecting the holes. It really gets tedious from here on…

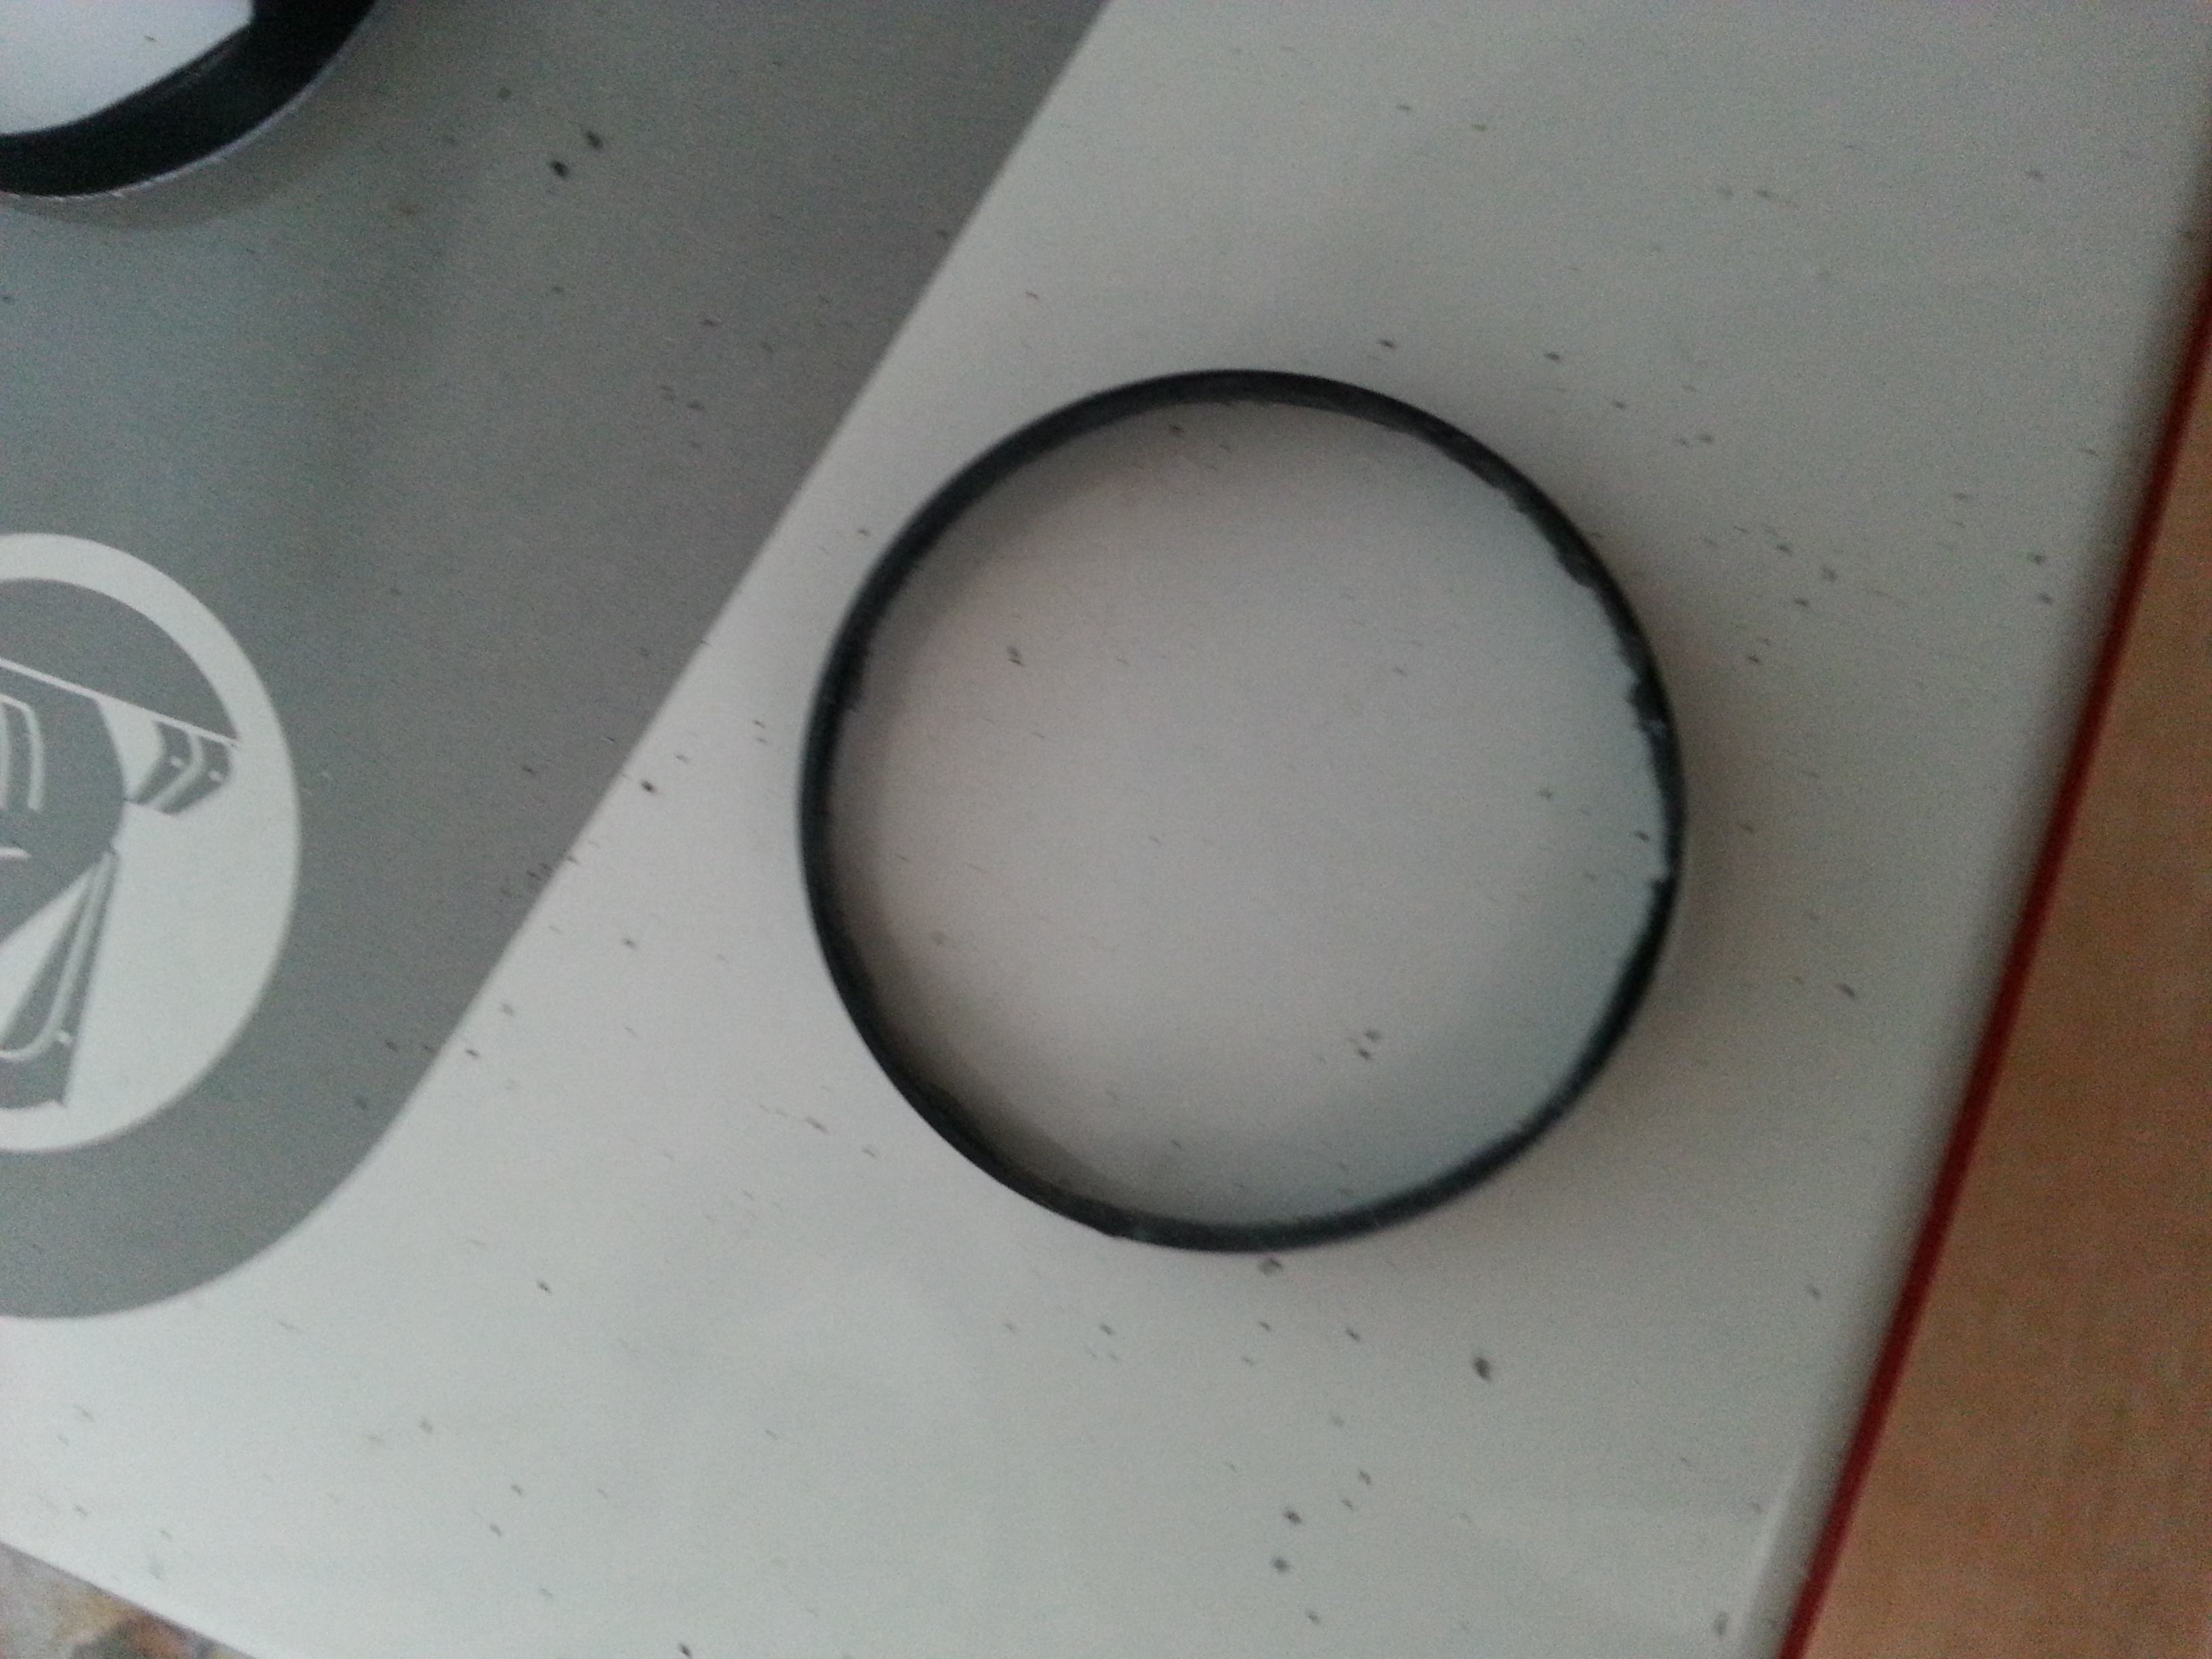
Then I used a couple of files and very carefully filed away the innards of the base, only leaving the outer rim I wanted. The images are actually of the base I used for Kitsune. The process is the same on the other base though.

Next all I did was glue some plasticard on the bottom of the base. The thickness I chose was 1mm. This little plate will help keep the fluids in of the water effects. After the glue had dried, I trimmed it with some scissors and then filed everything smooth after.
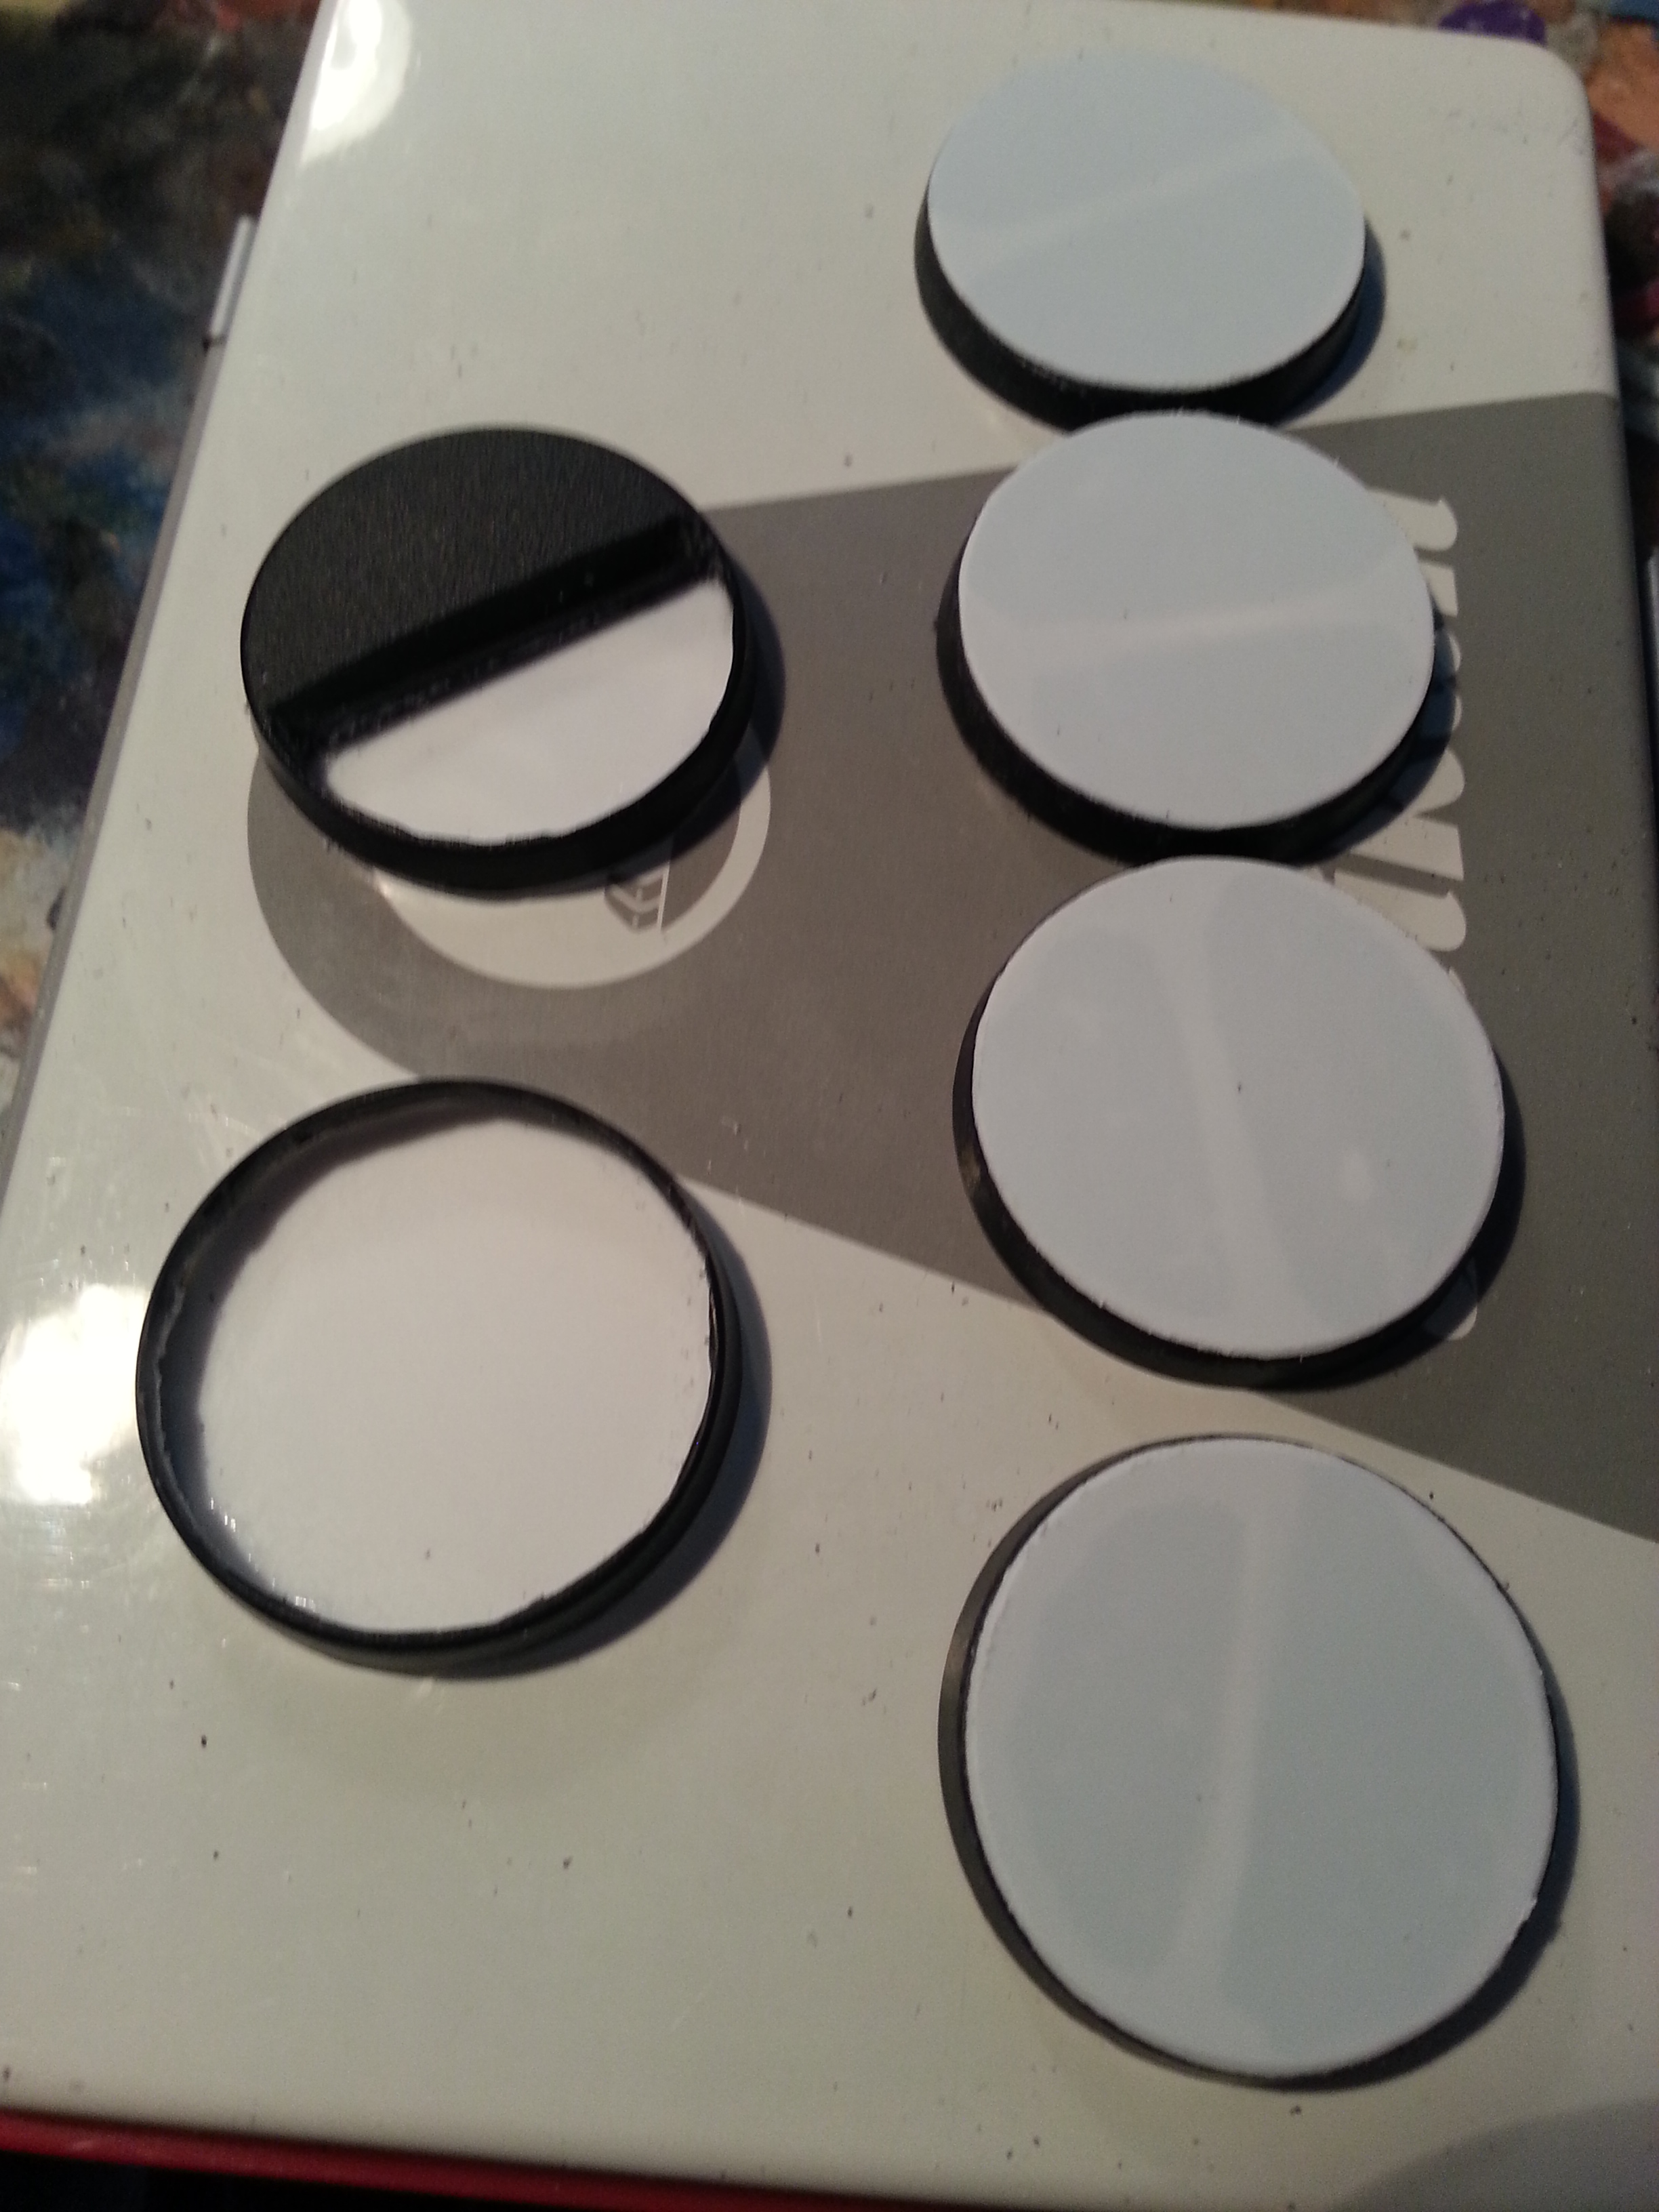
After that was done I die the same thing with the tops of my other bases (for Keisotsu models). This helps cover up that nasty slit in the base. SOme file up jobs at the end will make it all nice and smooth.
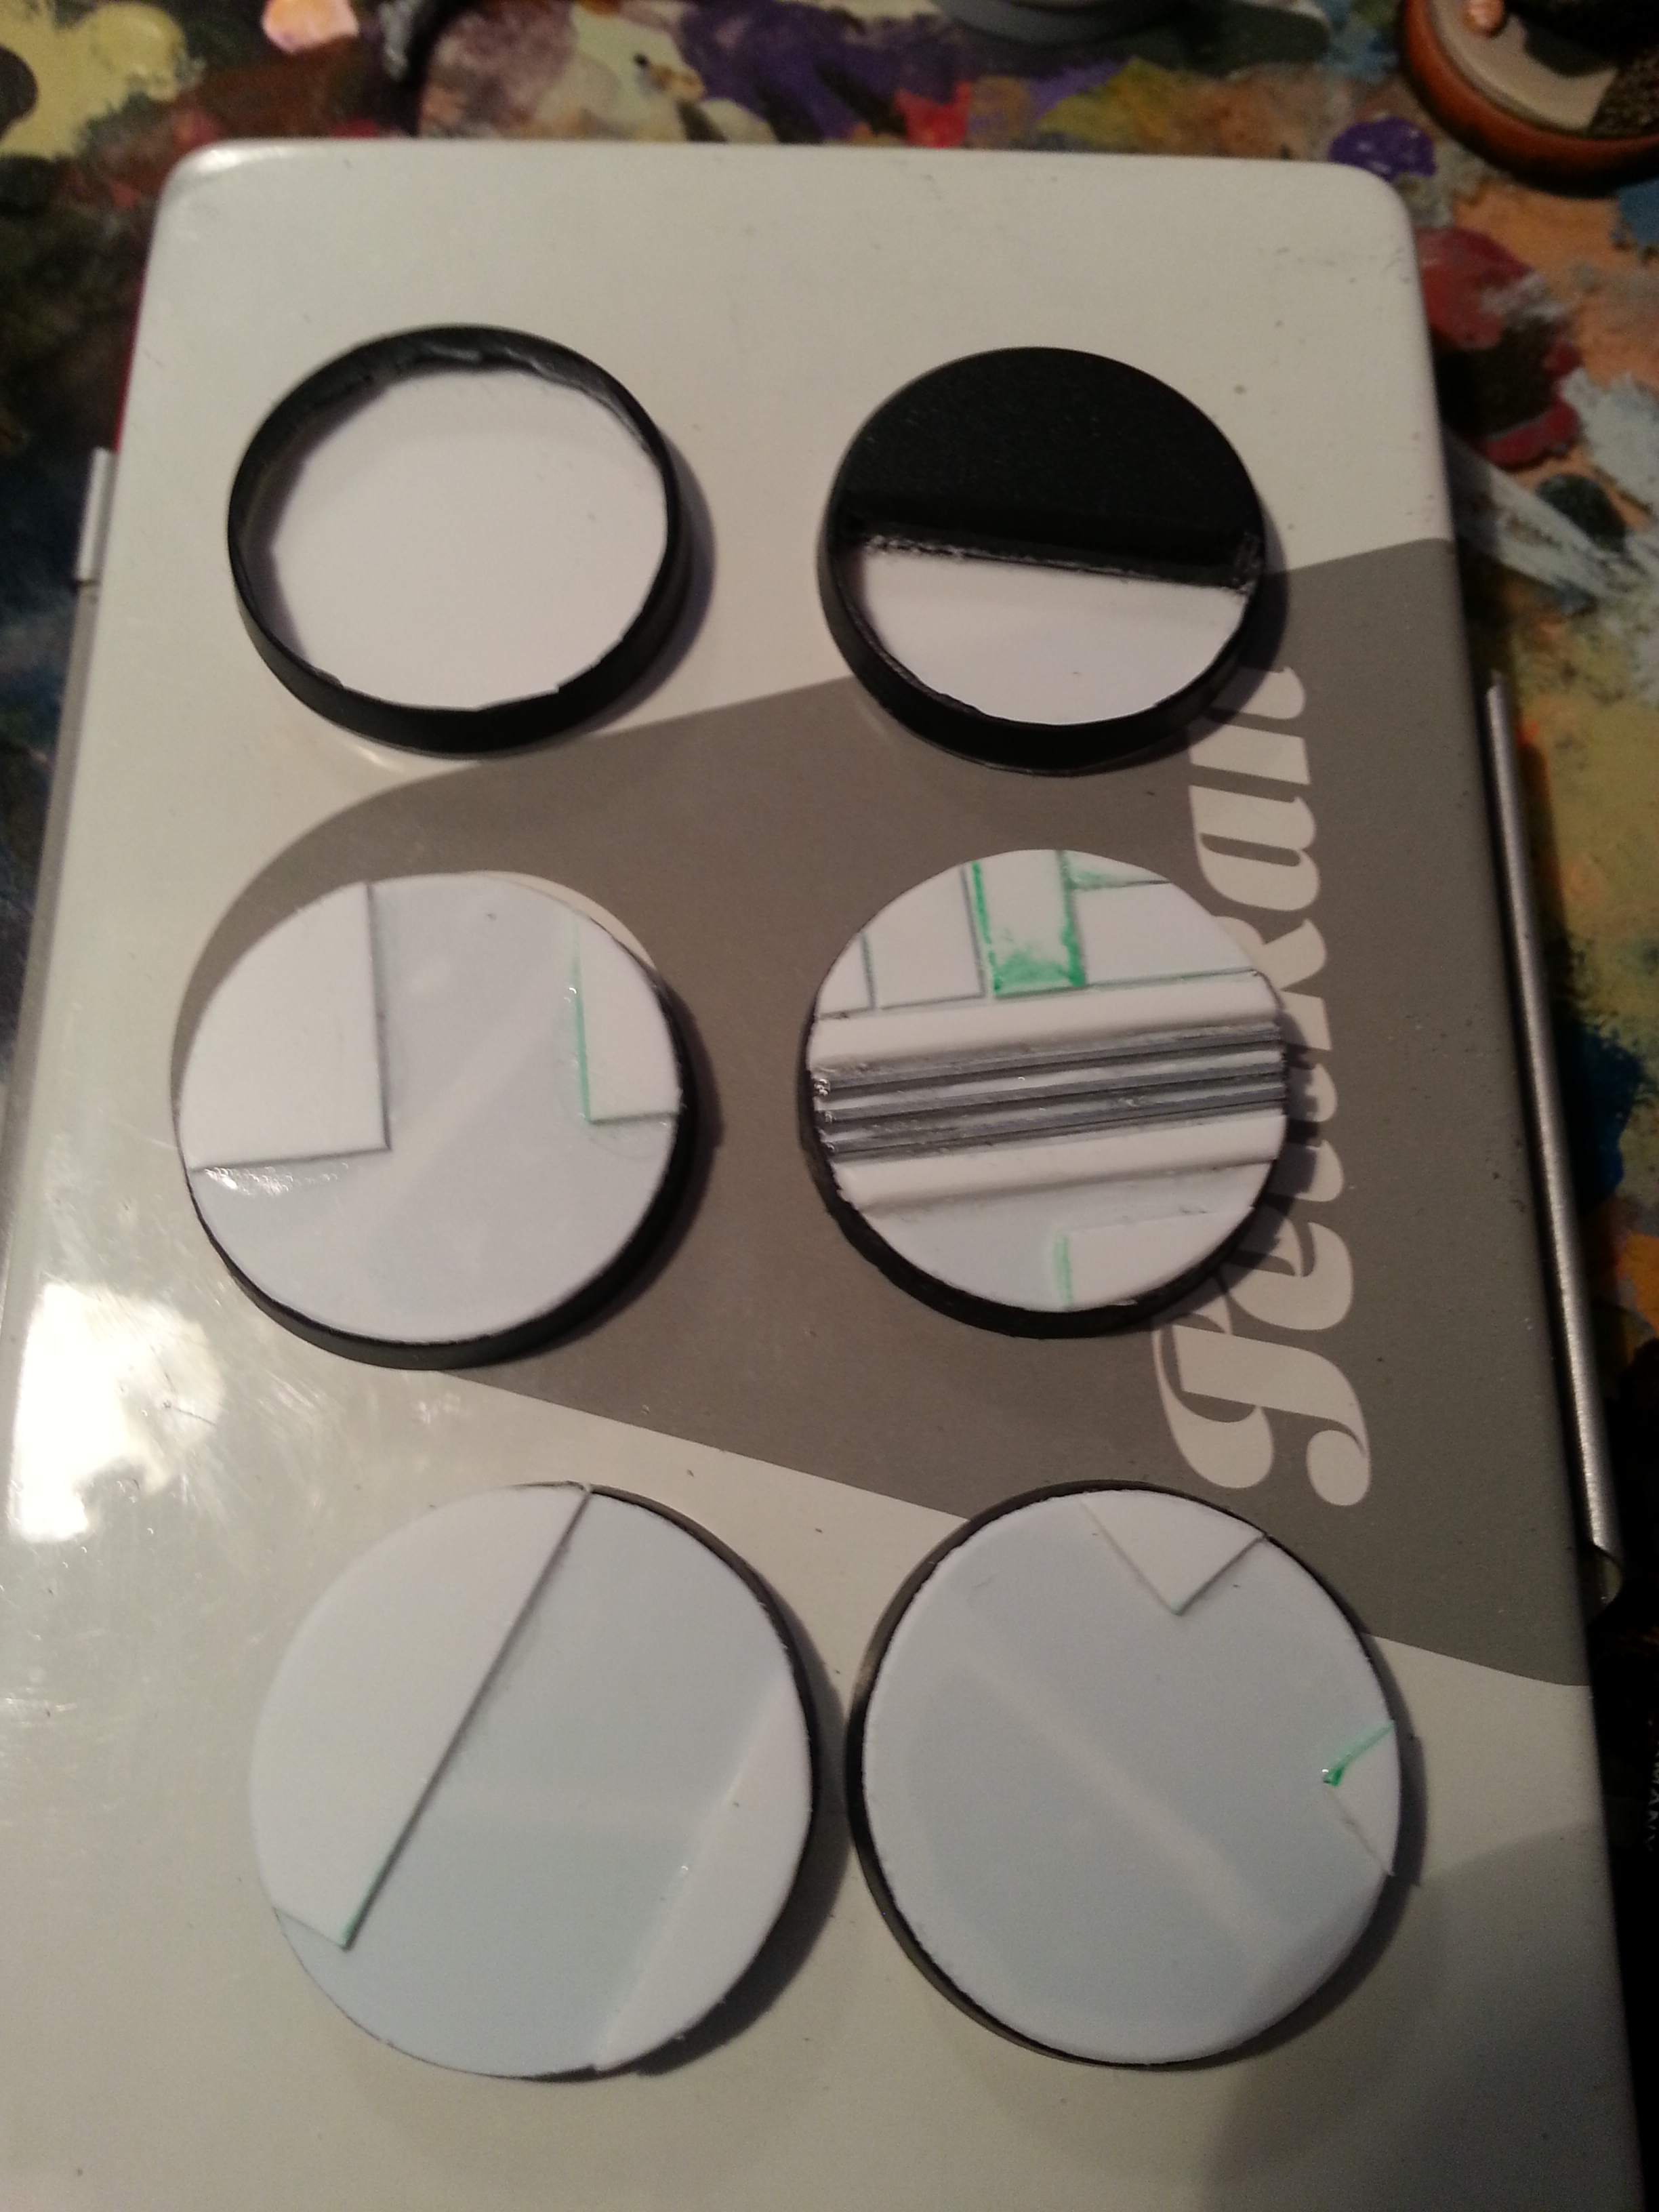
I had a generic theme going for my Keisotsu bases. I wanted them to be at the outer rim of the park. There I have a pathway that has cement blocks rimmed by gravel surrounding the park. This is framed by a slightly elevated bit (in the image the one with the paper clips in ). After that some paved walkways to walk around on leading to a little central market place or whatever comes to mind.
As mentioned above, I used paper clips and plasticard to make these. 1mm and 2mm plasticard was used in various ways.
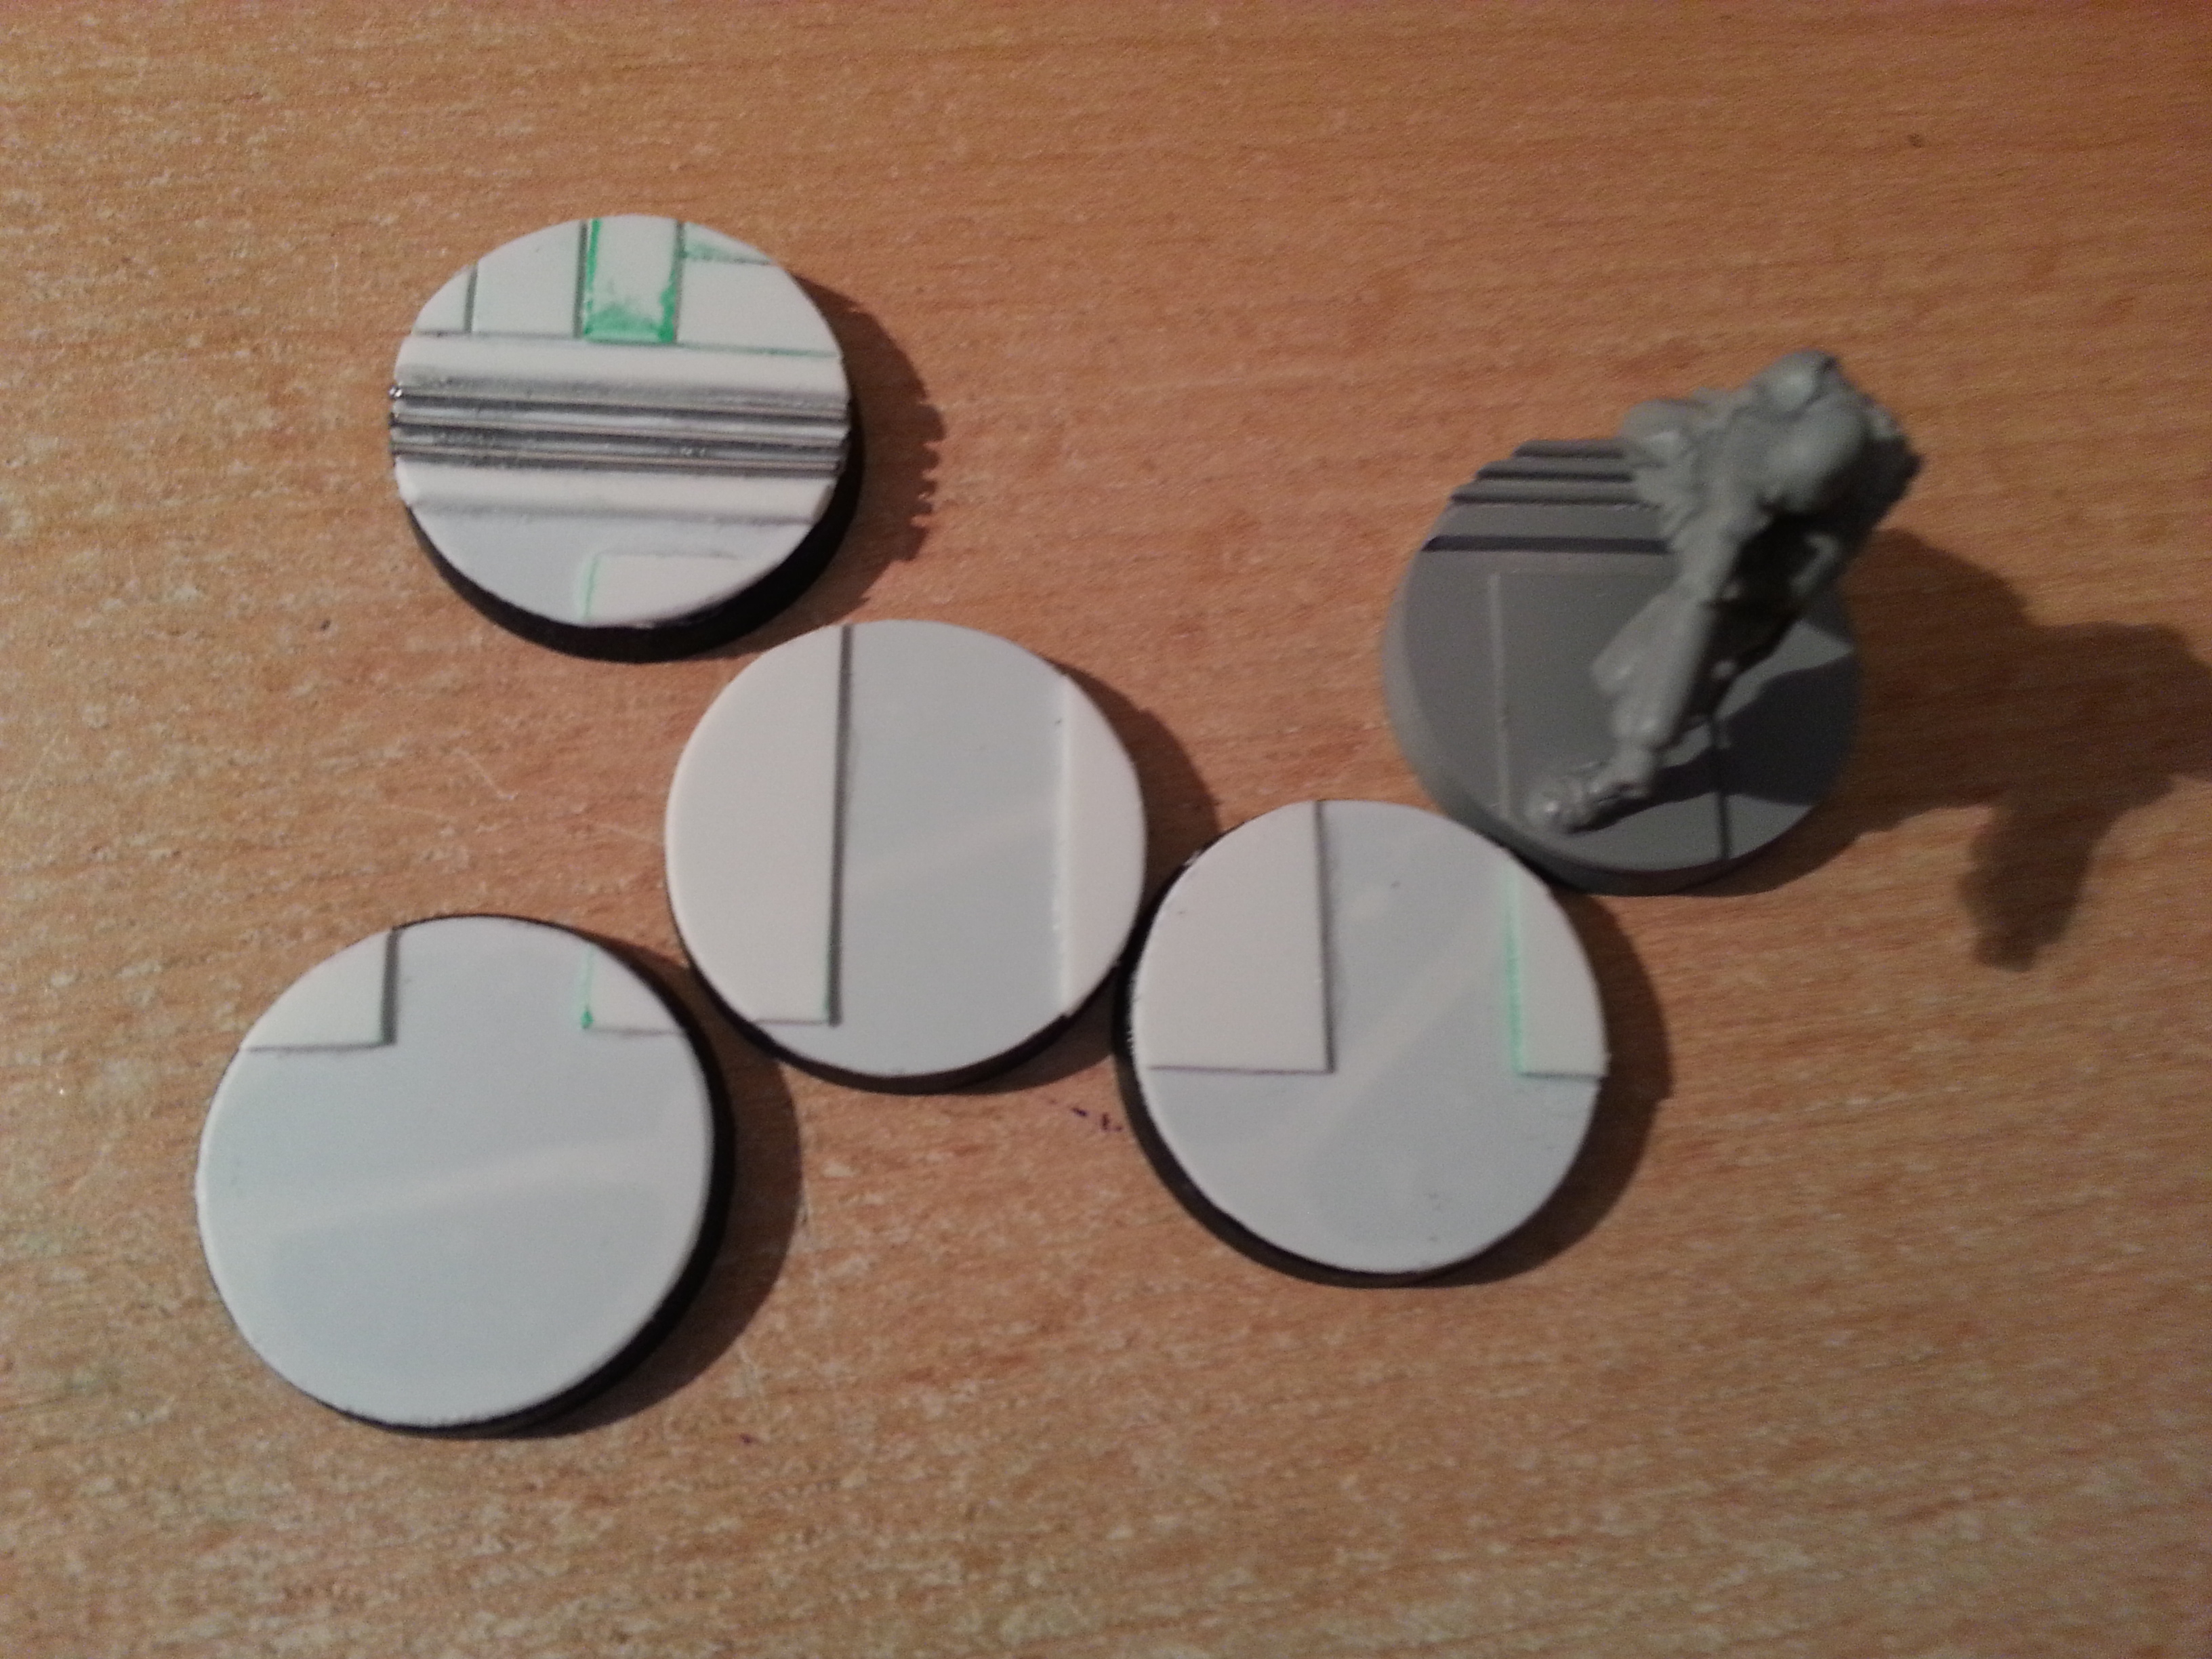
Here is how I aligned my Keisotsus’ bases. This is just a way for me to show off some consistency and also tinker around with different bases based on the same general area of terrain. I will eventually add one more Keisotsu (the one with a missile launcher) to this set, but for now it will have to suffice.

This is my Kempeitai’s base. I was generous with the sandy paste I used to fill in that void and have a smoother descent into the watery depths. Tossed in some gravel bits for good measure. I am really pleased with this and cannot wait until I splash some color on it.
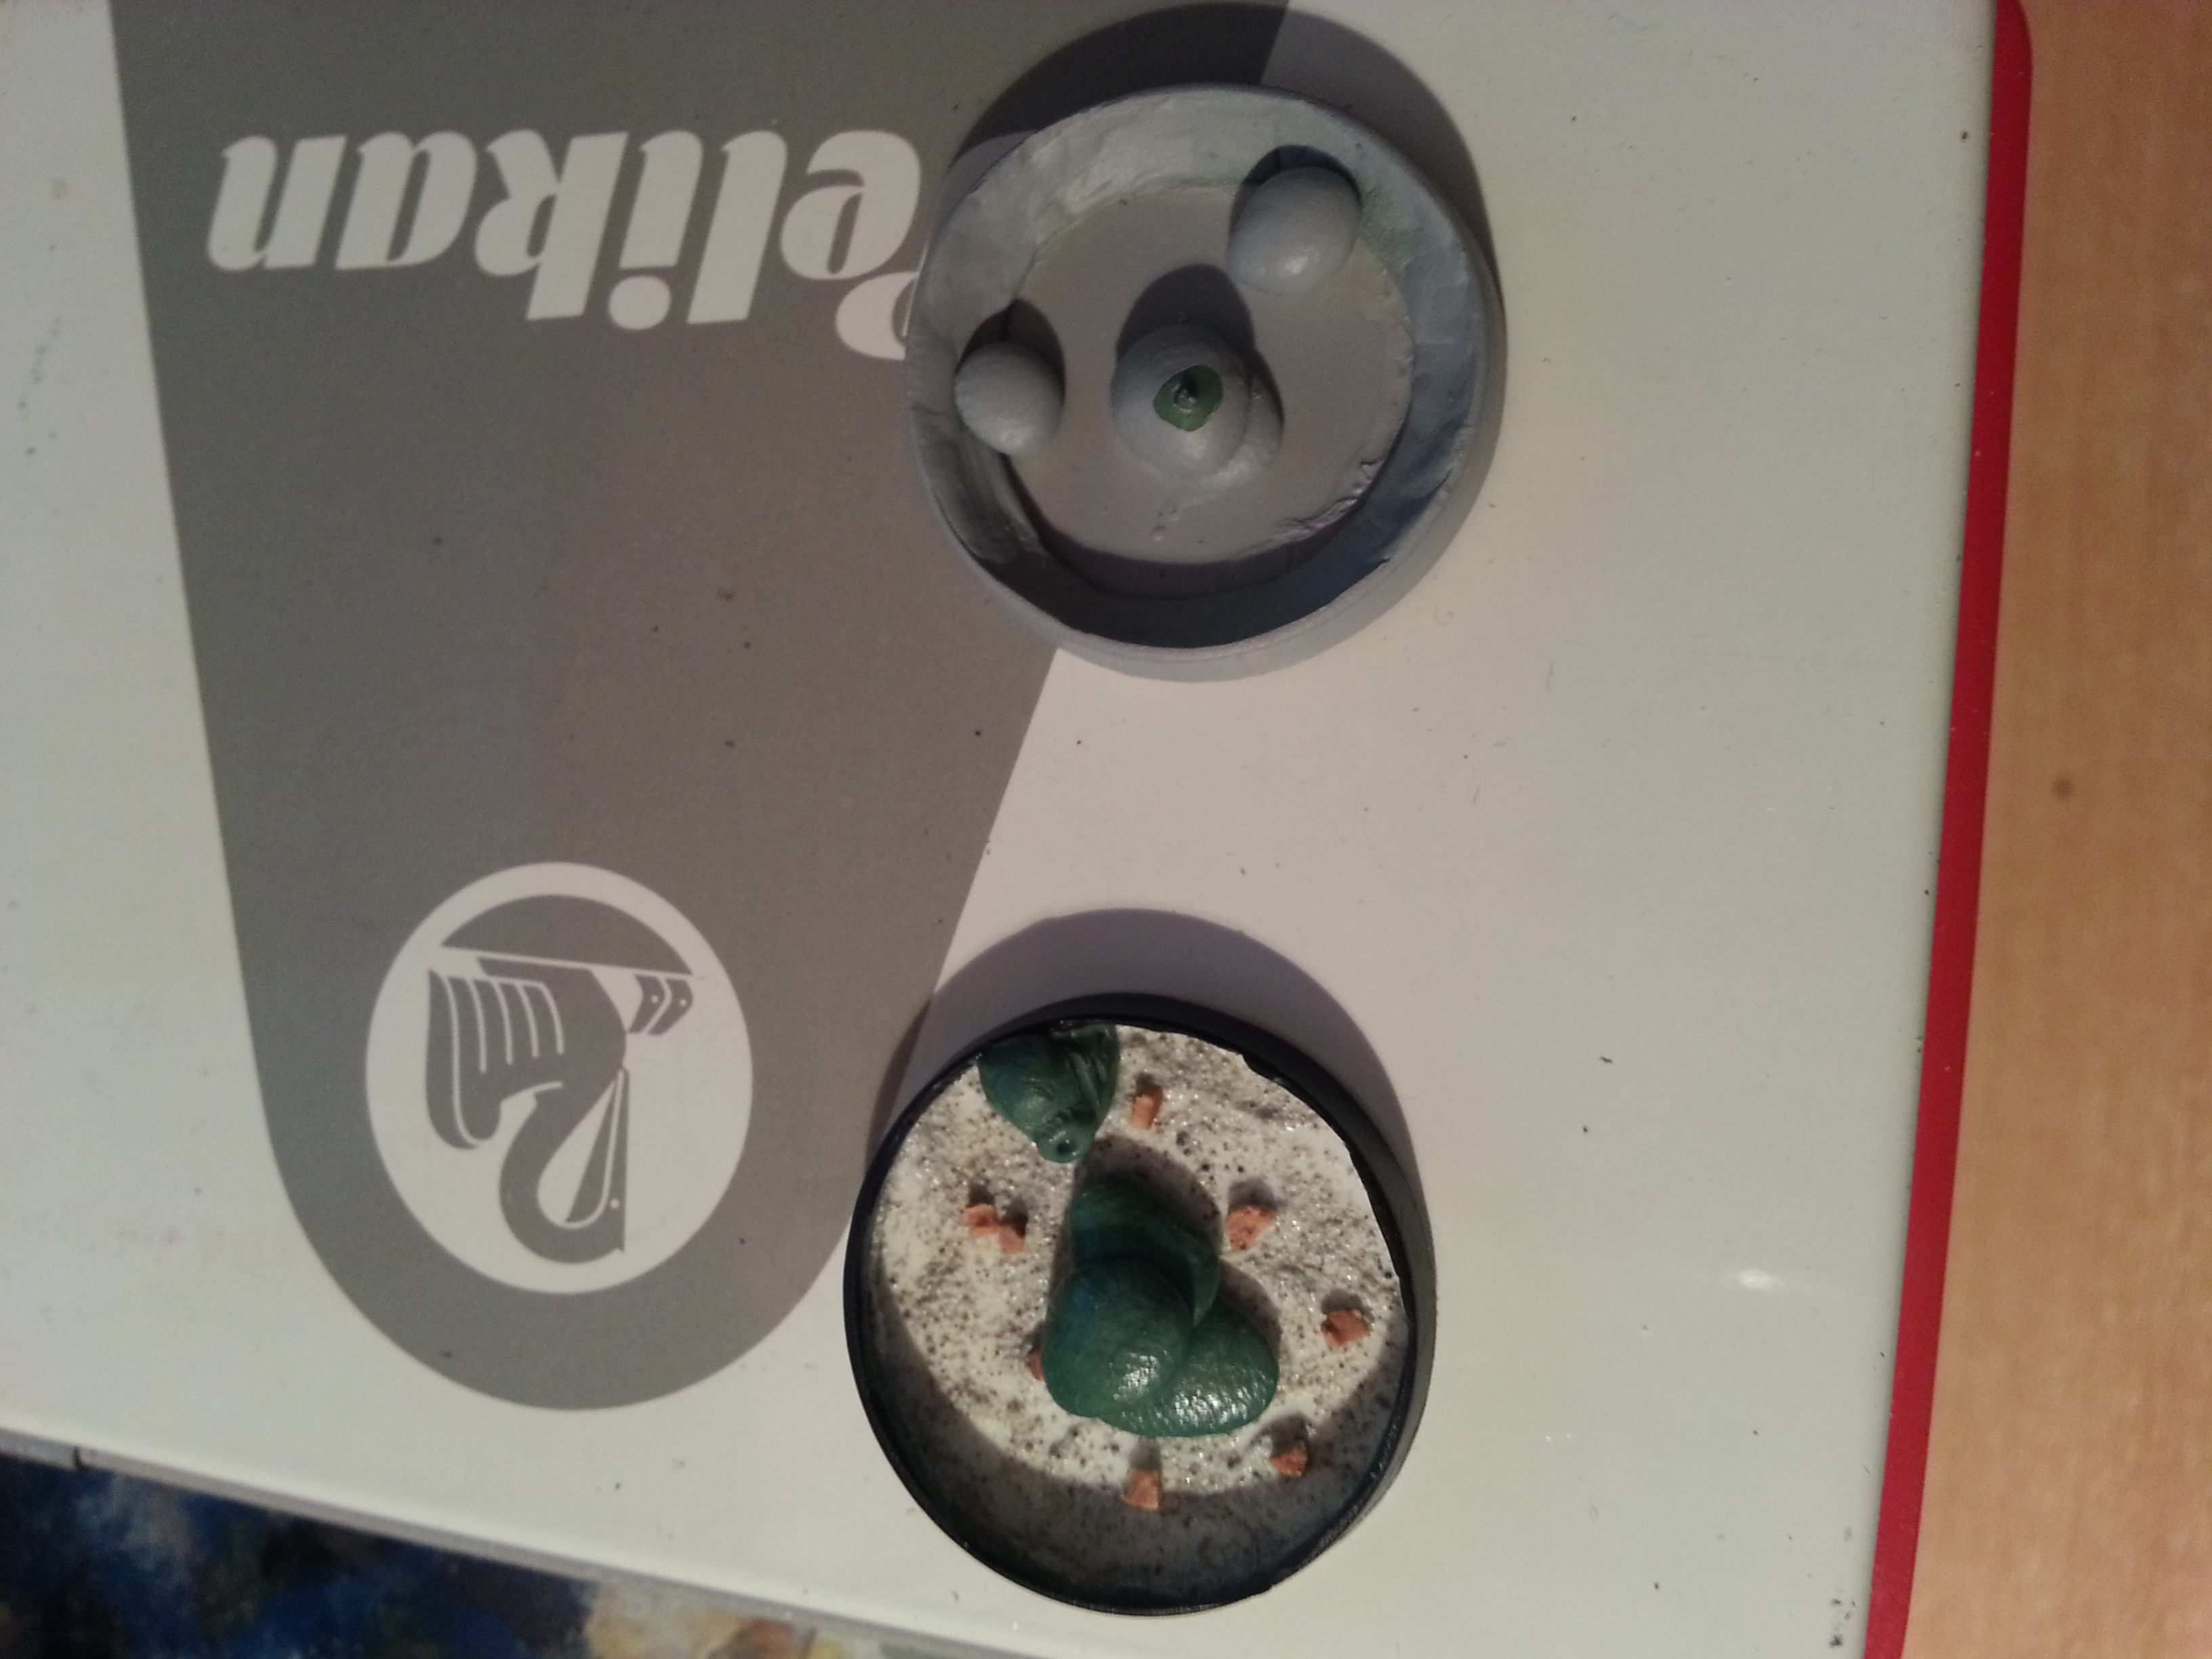
This is Kitsune’s new base and her old base in comparison. The old base was before I picked up the sandy paste. I originally wanted to add a koi fish staring at her from her base as she dashes across the water, but sculpting a full fish proved too difficult. Now I actually attempted it by just making an ovular pice of green stuff and stuff it in a corner. Add a small little bit of green stuff and jam something pointy into it for a mouth and you have instant fish. Once it is painted it will be more evident of what it is supposed to be.
That will round things up for this post. In the next one I will show off the primed minis including an Aragoto Senkenbutai (aka kick ass motorcycle). Hope to see you then!


Leave a comment