This is the second post in my ongoing tutorial series. A series that follows my footsteps from preparing to finishing a miniature model. Click here to view the first steps of this process and read on to see what happens next.
Since gremlins in Malifaux tend to live in swampy areas, I decided to go with the flow and toss my guys in muck and nature. I have seen quite a lot of different bases and what I originally enjoyed a lot was stuff using water effects. Glossy surfaces to depict ‘real’ water and make things look a little more realistic and offer some variety to the paints covering the model. To start off I pick out a chunk of cork from a cork plate I bought. It can be rough and big, just make sure it isn’t too small for the base.

Once you have your chunk and have laid it over the base, start tearing it up to a size more suitable for the base. In this case the cork is supposed to be a piece of ground or earth that is not entirely covered by swampy fluids. So it can be rough and random. Just go for something you really like. Also make sure to ‘fit’ the model on the base prior to reducing its size. You want the model to stand on the cork, so make sure it doesn’t become too small! Just remember to rip off the pieces. If you cut it, you will actually have more difficulty making it look ‘natural’ plus it is more fun ripping the shreds out of something!
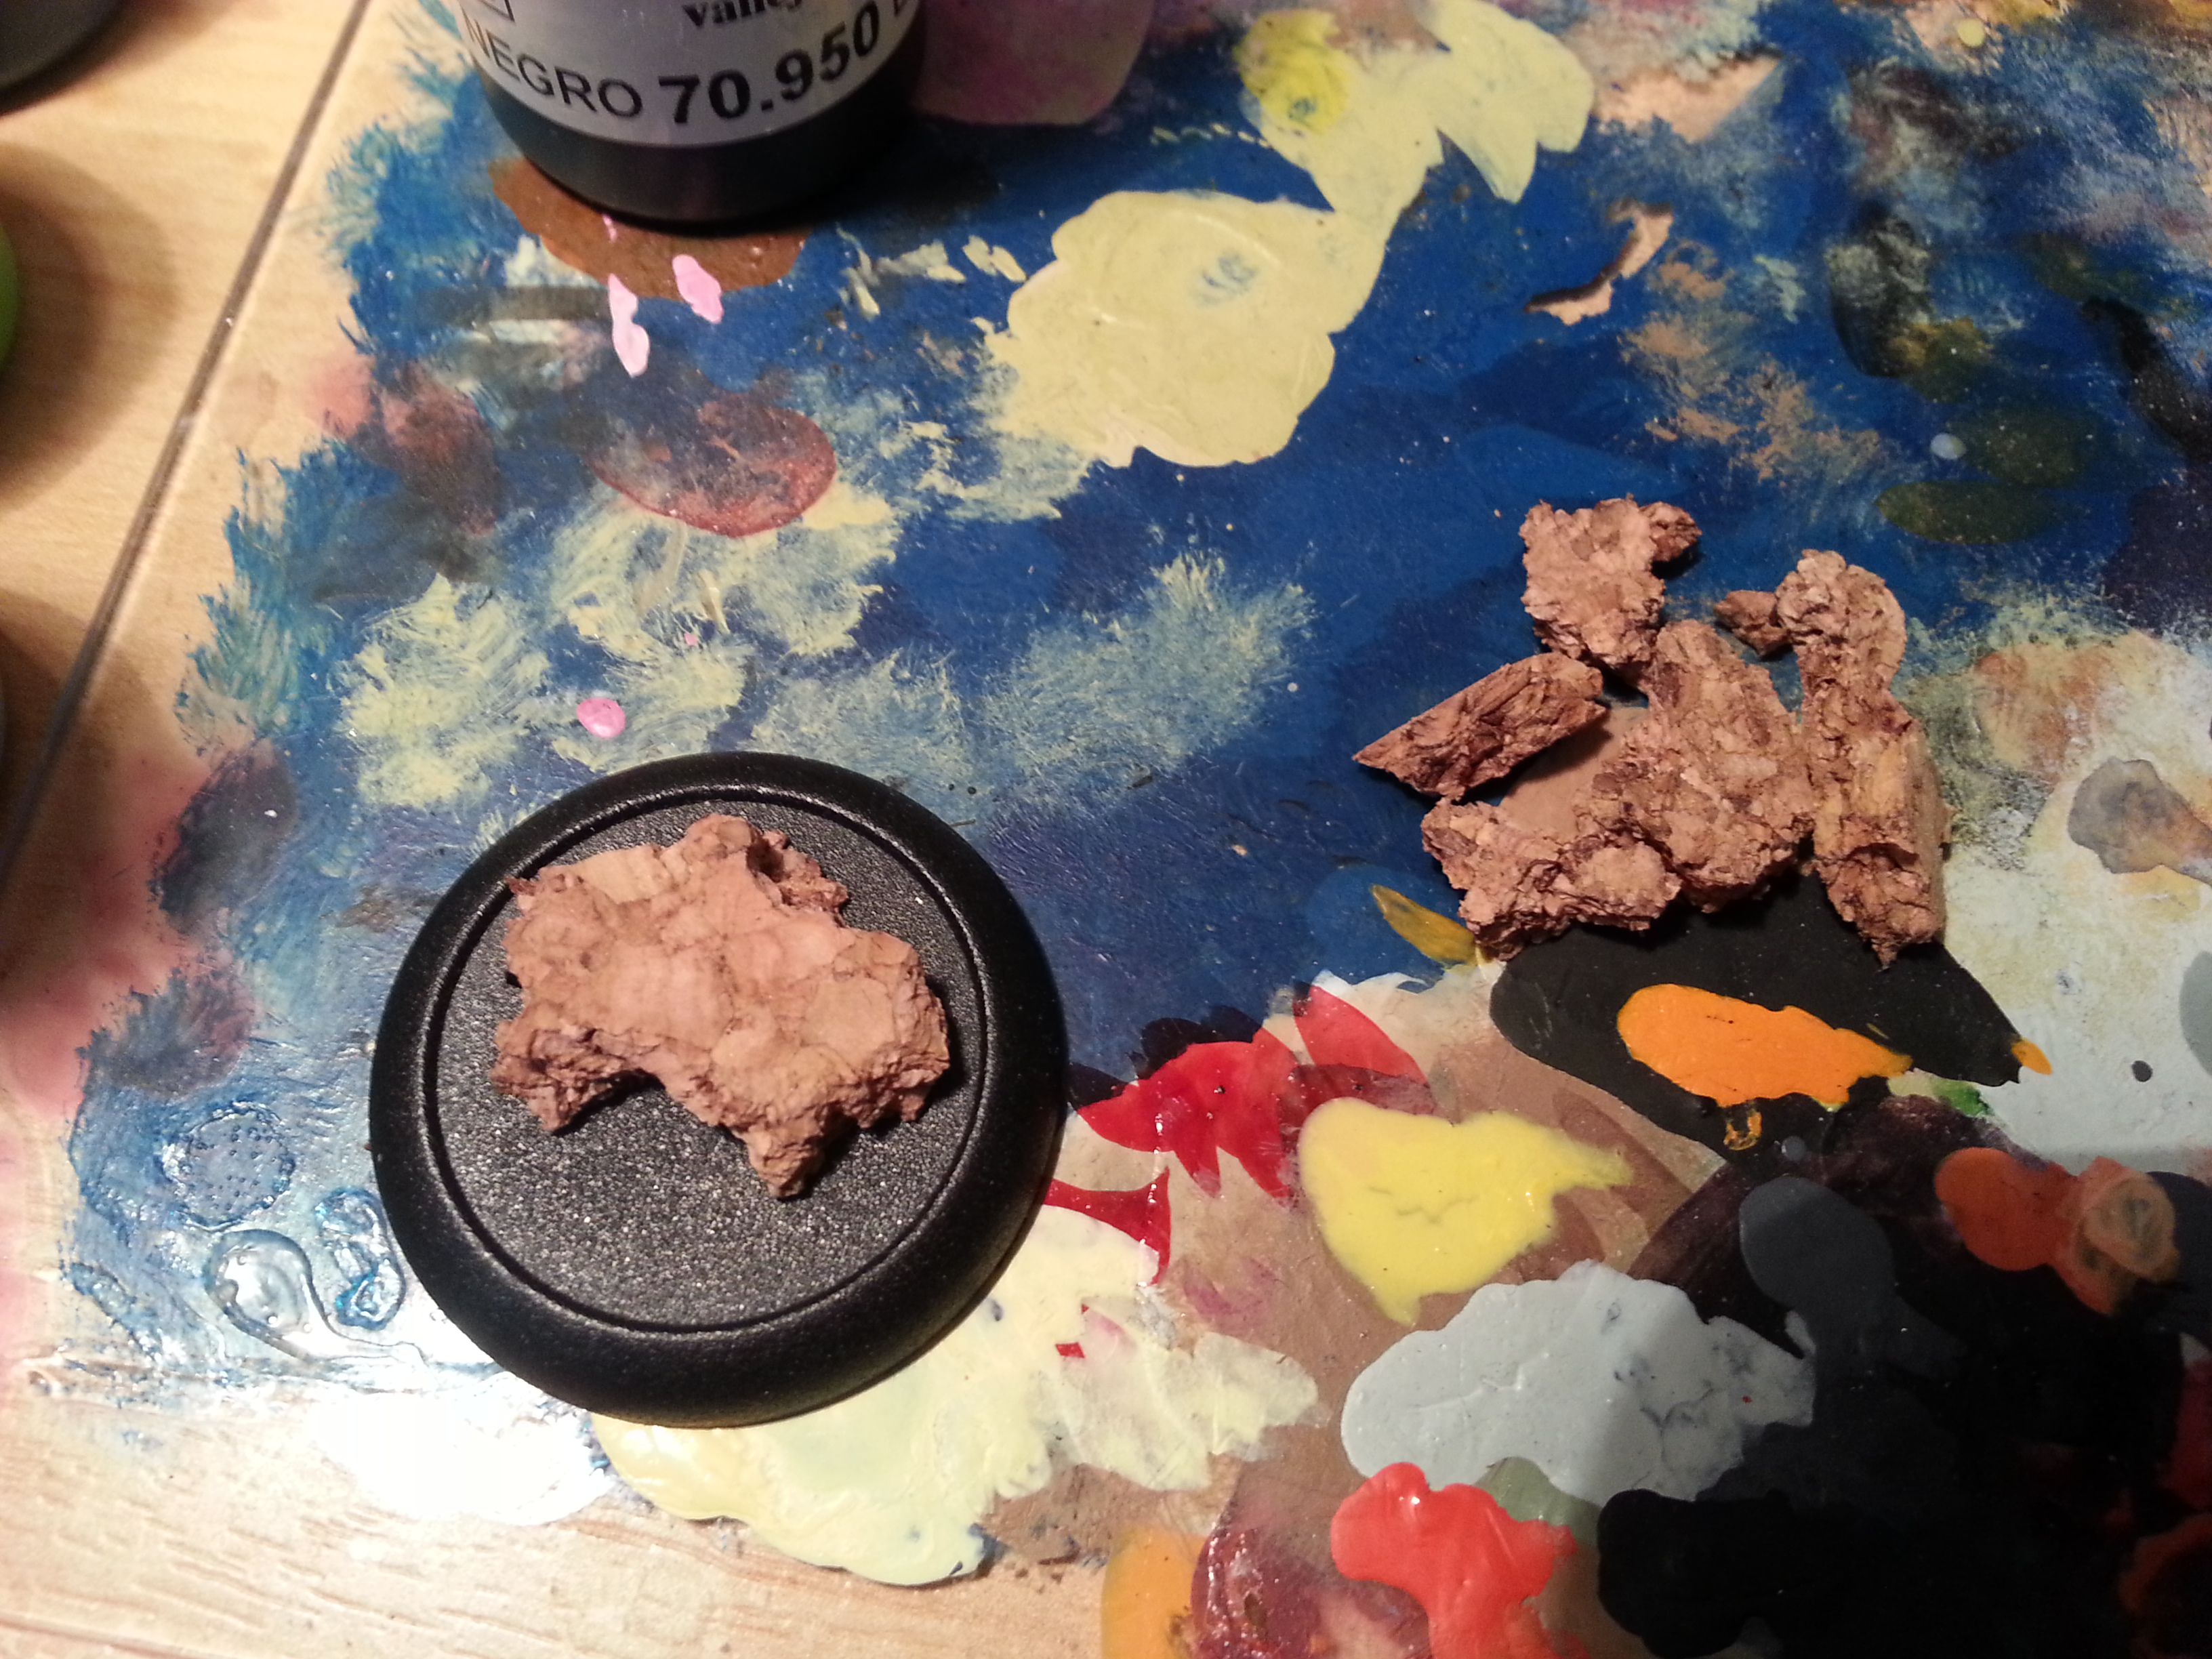
When you are done, your base should look roughly like this. The size difference is quite considerable. I recommend to keep the bits you ripped off and store them in some container. You can use these later for other projects. Cork can be used to make rocks and stones in varying sizes, which may be something you need for other projects! Glue the stump onto the base with some regular white glue. I used the stump to cover up the slit in the base, thus taking a bit of work off of my shoulders, since I would have to fill the gap with something else.
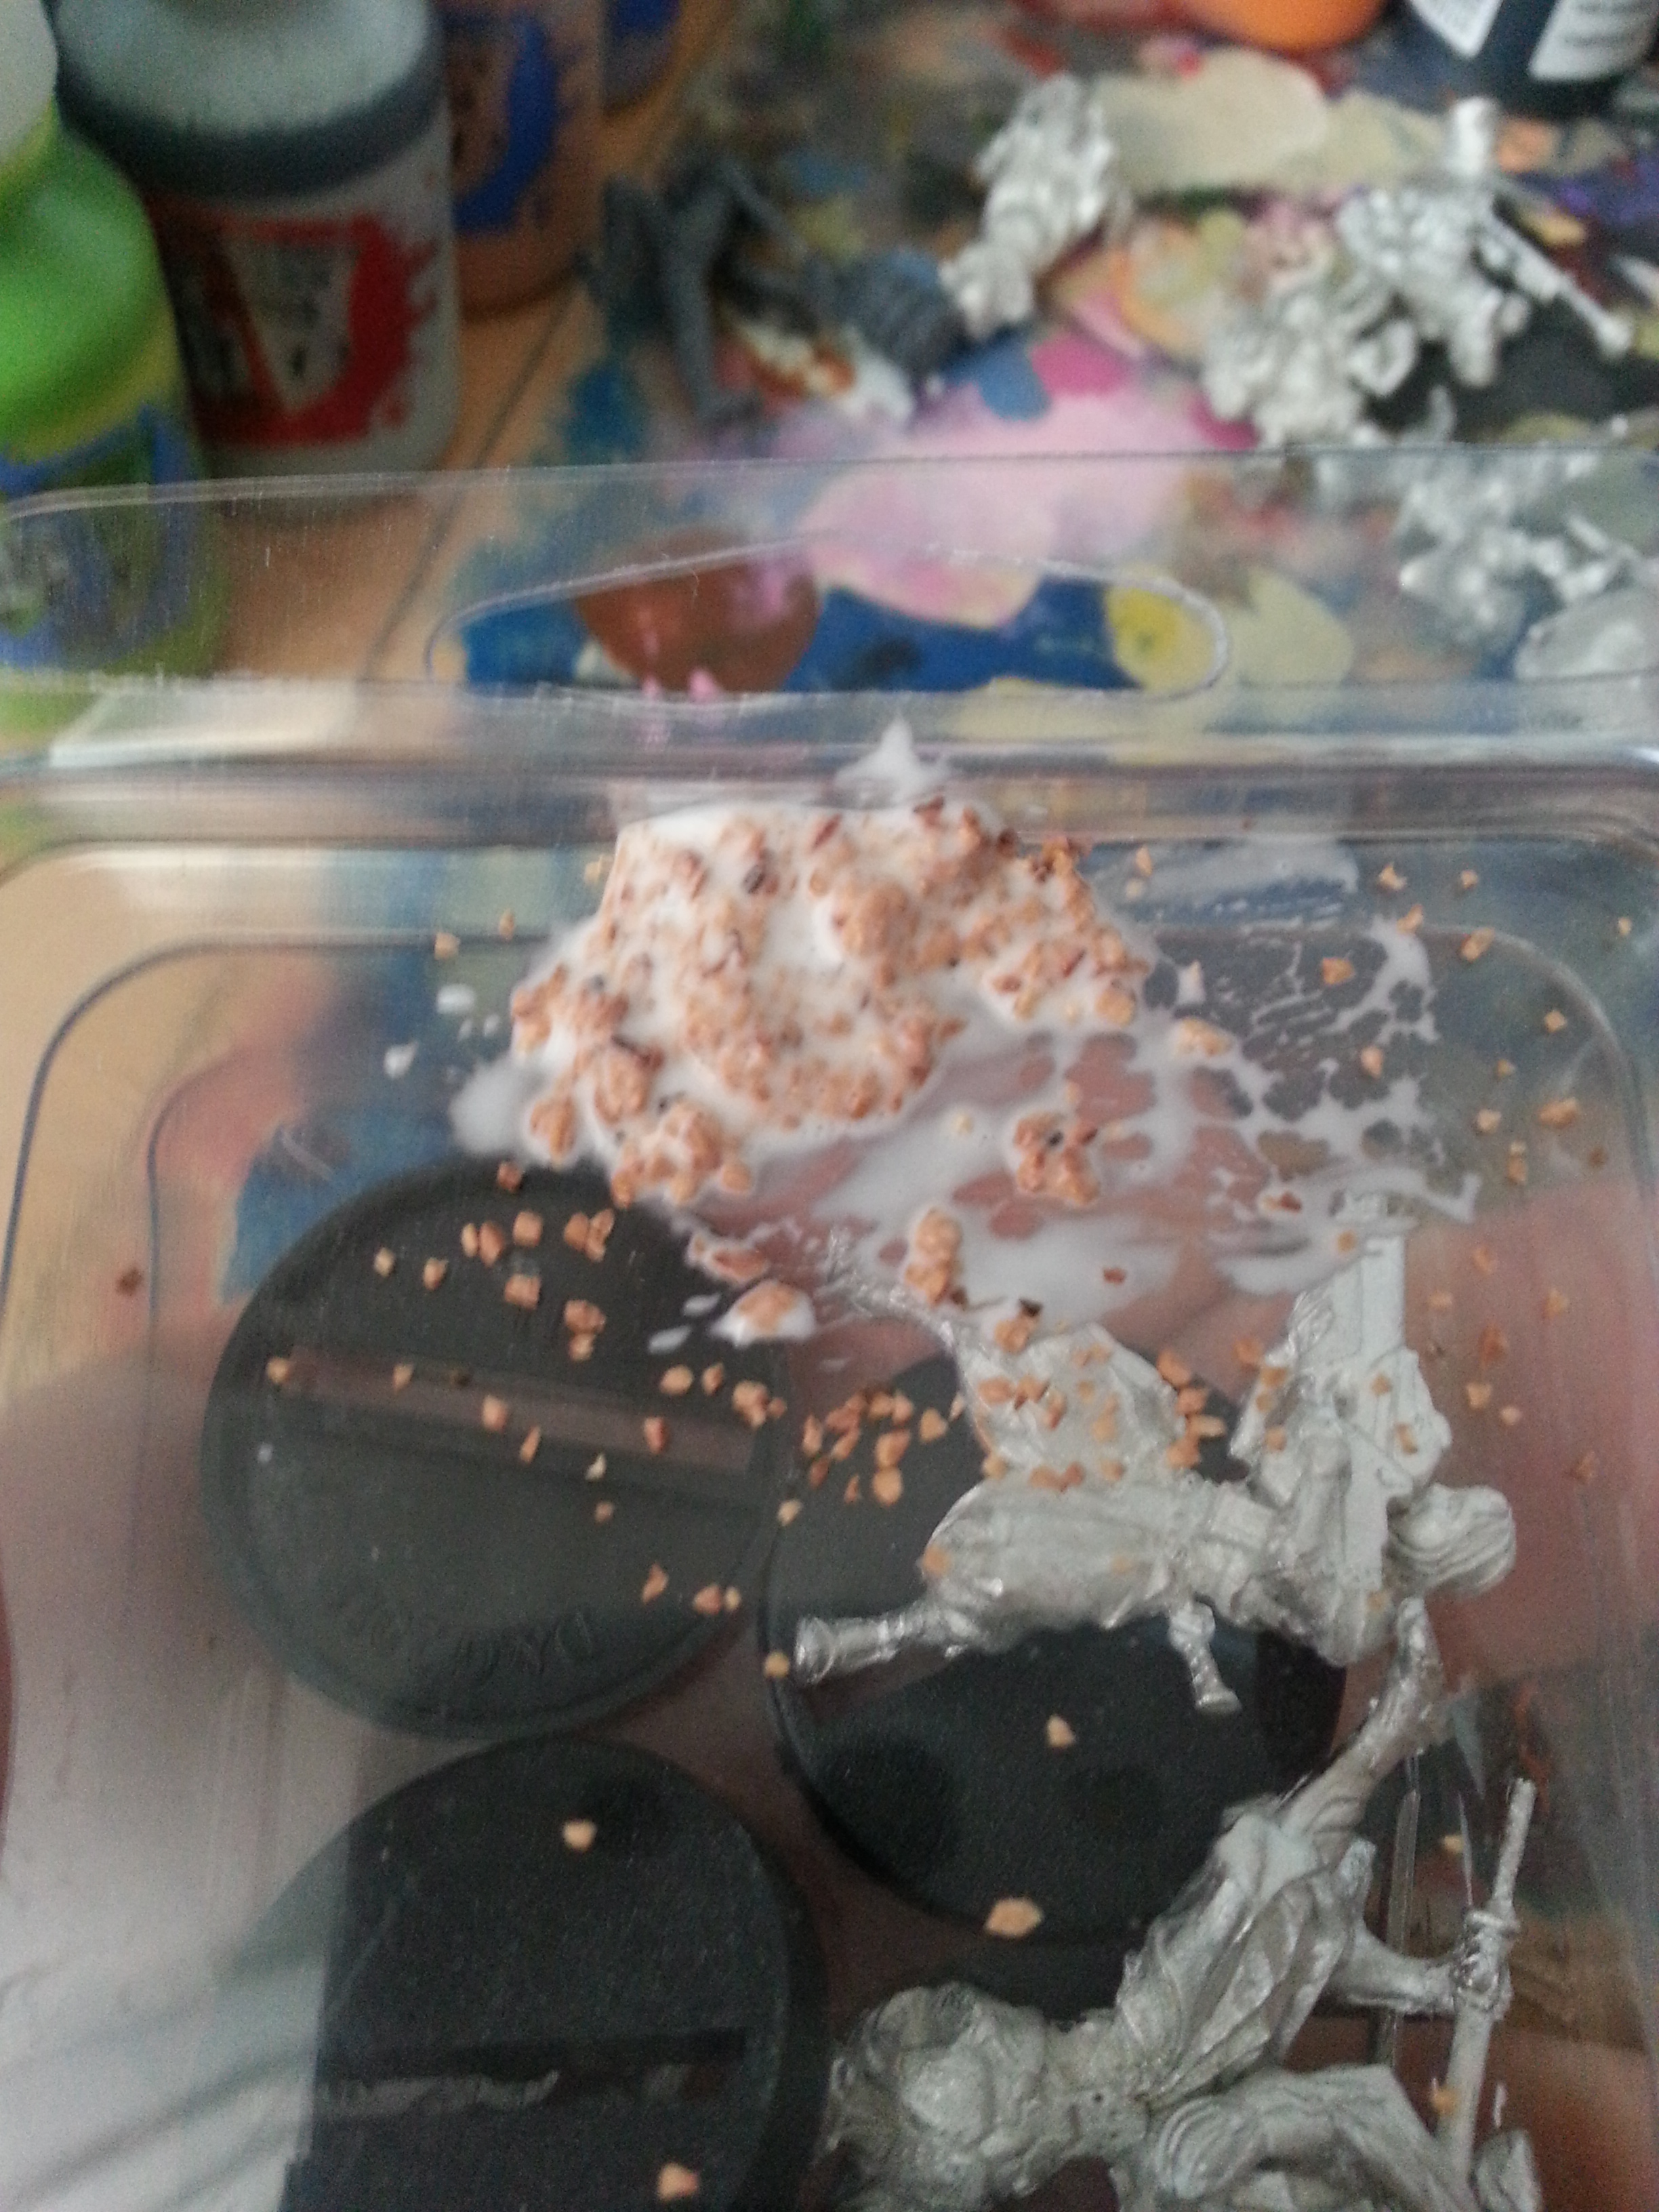
What I did next was to create a mixture of small rocks and sand. I wanted to add a little rocky surface to the base but I didn’t want it to be sandy or muddy, actually. You can use finer sand for a more muddy and sandy appearance. I went for rocks to be all over the place. Just mix it with some of the same white glue you used earlier and apply it to the sections on the base you want it to be. I also used this to help fill in gaps I didn’t want and that were not covered by the cork plate. Be as generous or sparing as you want to be with this. It all comes down to personal preference. (The above mixed amount was enough for 8 bases…)
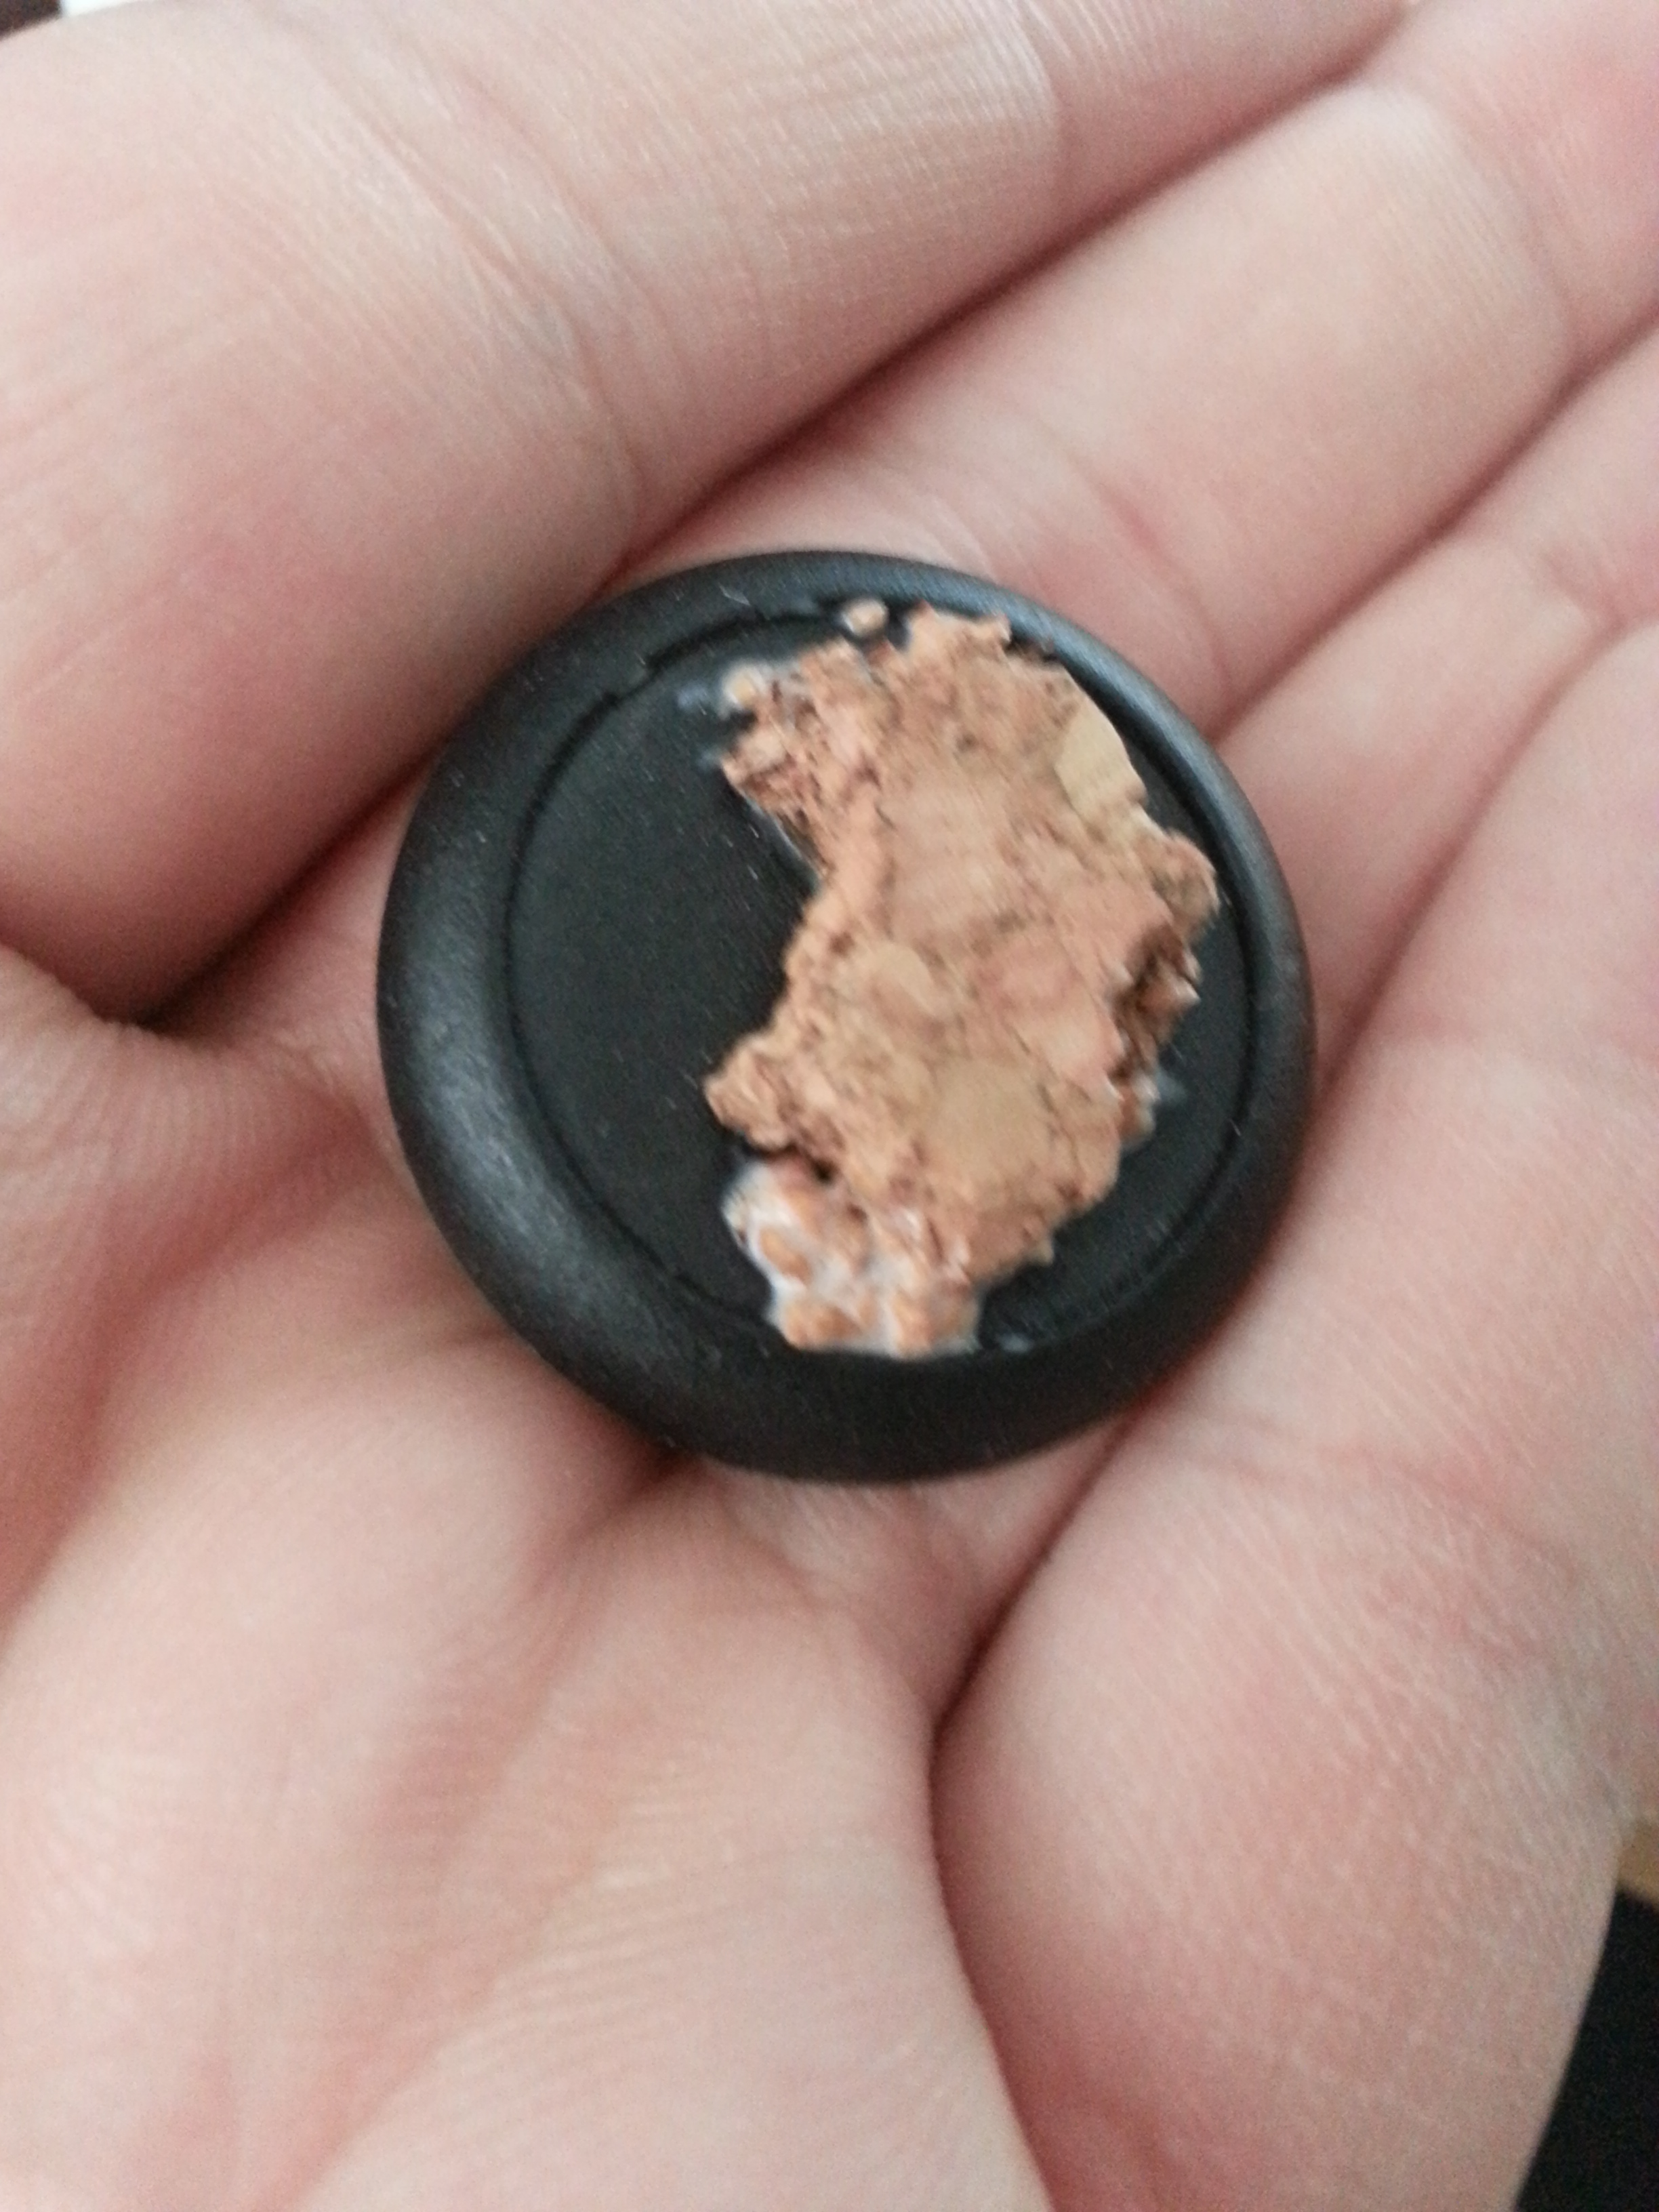
That is what it looked like after I was finished prepping the base. Let the glue dry over night and enjoy the next step you accomplished in making an awesome miniature! We shall see each other in the next step! Click below to view it!
[Link to be added soon]


Oh great guide again! I never thought of mixing the texture item into the glue and then applying it. I’ve been putting on glue and ‘dusting’ my product over. I really like this idea for larger pieces like rocks.
Must give it a go! 😀
Its great on these rocks, cause it helps keep them glued to the base. I have had experiences with these little rocks that they easily come off, if you smear the glue onto the base and then toss them onto it. There is also a past sand like substance by Vallejo. Its kind of like sand and looks really nice. Once I get around to it, I will show off some bases I plan to make with it. 🙂